How to Ice a Cake Without a Conniption
Use this search box to find the info you're looking for!

Tempting isn't it? But it can be intimidating. Unless you know how to ice a cake!
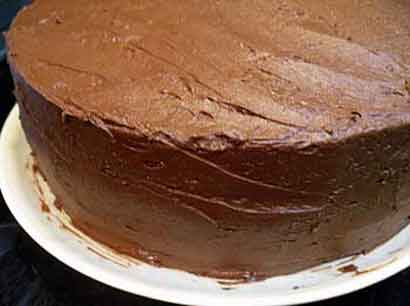
Once you learn how easy it is, you'll be making your own edible masterpieces.
And you won't go to pieces in the process.
Heck, if you can get your cake out of the pan whole, you're halfway there!
Then you just need 2 to 3 cups of frosting and a little patience. And maybe a...
Special Item Recommended!
Straight Blade Spatula- the long wide blade makes icing the cake much easier.
Step One: Pan Preparation
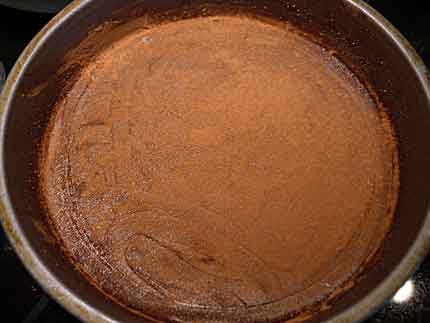
This is a critical step! Be sure to prepare your cake pans as per your recipe.
Don't skimp on the grease or baking spray. But don't over do it!
And don't forget the flour (unless it's already in the spray).
Or you can dust the pan with cocoa (naturally, you're baking a chocolate cake, right?) like in the photo.
Your goal is to get your cake layers out of their pans whole. That's crucial because pieces are more difficult to work with.
But don't panic! Pieces covered in frosting still taste great. They just don't have that ideal eye appeal.
Now fill and bake. Then cool according to your recipe.
Step Two: Removing First Layer from Pan
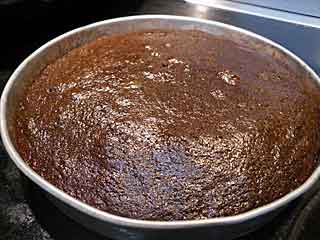
Ahh, it's time to remove the cake layer from the pan.
Here we go. I'll talk you through it. No need to be nervous!
Ok, maybe a little need.
Step...
 |
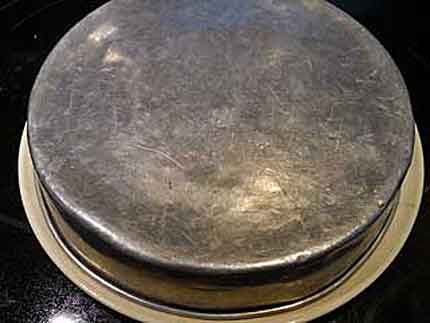 |
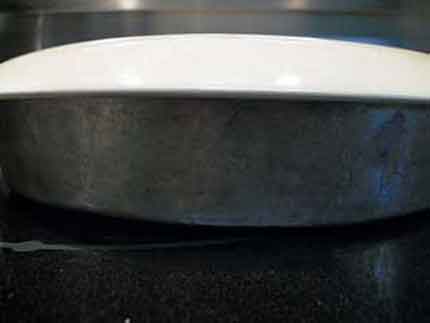
- Put your cake plate on top of the pan (see photo).
- Then slide one hand up under the pan. Place your other hand on top of the plate. Carefully turn the pan and plate as one unit.
- Place the plate (with pan) on your work surface (see photo).
- Now put one hand on each side of the pan, palms open. Slowly lift the pan up about an inch or so.
Does it feel lighter? If so, it's probably safe to continue lifting up the pan. Layer should be loose.
If it doesn't feel lighter stop. It's stuck!
Yikes, not good. But no need for a fit, yet. All is not lost.
You have a few options. You can...
- Shake the pan gently. Or...
- Put the pan back on the plate. Firmly tap your fingers on the bottom of the pan (covering most of the surface). Then try lifting the pan up slowly. Or...
- Turn the pan and plate back over. Remove the plate. Then gingerly run a table knife between the edge of the cake and the pan. Put the plate back on and turn over. Carefully try to remove the pan.
These usually work. But if you didn't prepare the pan properly, you may suffer a caketastrophe!
Of course I know that didn't happen to you. Your cake layer came out just like this...
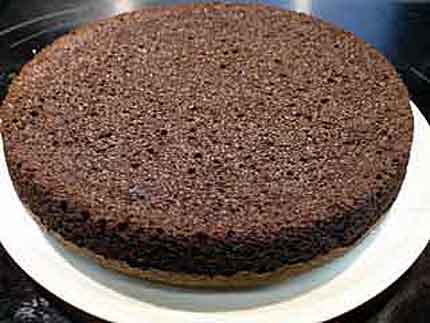
Perfect and just waiting for the icing!
Step Three: Fixing the Frosting
Ok, time to whip up your favorite chocolate buttercream icing recipe.
Or open the can and stir! Or box.
Goal: Perfect spreading consistency. Icing that is...
- Too thick will tear the cake
- Too thin will ooze off of the cake
It's best to do a little test. Try to spread a small spoonful on your first layer. Did it go on smoothly?
- Yes? Well done! You're ready to spread.
- No? Crumbs! Too thick. Add a little more liquid and whip. Repeat till perfect.
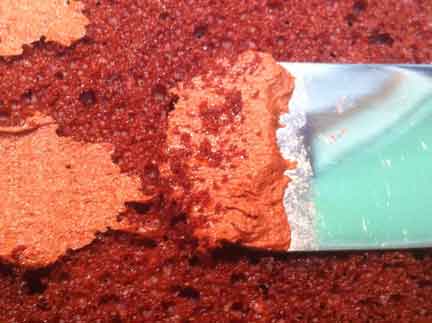
Ready?
Oh, you might want to wipe off those crumbs. Don't want them "polluting" your frosting. They might mar the beauty of your creation.
Step Four: Icing the First Layer
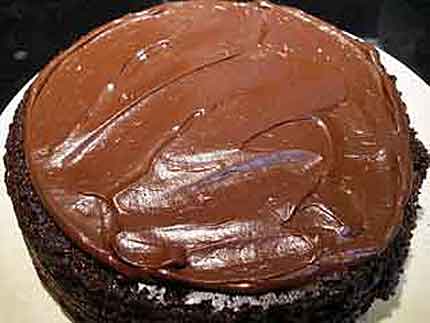
How to ice a cake? By starting at the bottom and working your way up! Let's frost the bottom layer.
Ok, now you're ready to start spreading your awesome icing!
Spoon about 1/3 of your frosting onto the cake.
Goal: With a straight blade spatula or knife, spread your frosting to within about a 1/4 inch of the edge.
Done? Step four complete. Congratulations!
Step Five: Adding the Second Layer
Stacking the layers.
Now carefully remove the second layer from the pan. Invert it on another plate. Or if you don't want to dirty a second plate use a sheet of wax paper.
Goal: Take that layer and put it right side up on top of the first layer. Make sure to line up the layer before it touches the frosting.
Not quite right? Adjust alignment with care. Realignment may cause tearing or crumbs.
When you're satisfied, gently press the top layer down. Don't want it sliding off.
Excellent! You did it. Your layers are not leaning!
Step Six: Icing the Side
This can be a bit of a challenge. Fortunately, buttercream frosting is very forgiving.
Goal: Cover the sides (from top to bottom) with frosting.
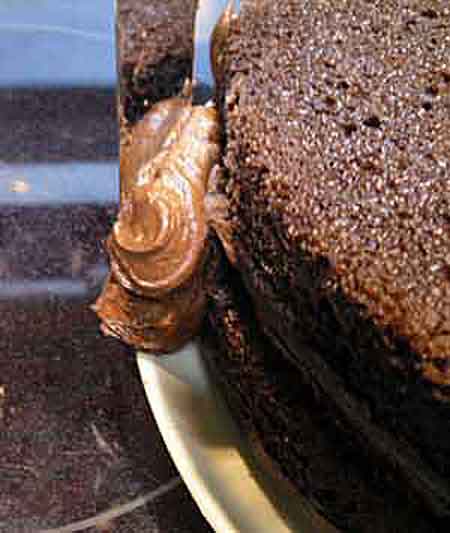
Dip your spatula/knife into the frosting. Scoop out a generous portion.
Then hold your spatula at an angle to the side of the cake.
Draw your spatula toward you while gently pressing the icing onto the side of the cake. Stop when most of the frosting has been transferred to the cake.
Reload your spatula. Repeat where you left off.
Turn the cake plate as needed till all sides are covered.
Don't fret if it's not perfect yet.
This is the hardest step. With practice you'll get a feel for it. Soon you'll be able to apply the icing smoothly and evenly.
If you miss a spot, put a dab on it and spread.
Practice changing the angle of the spatula till it feels right for you. You can go over an area repeatedly until you're happy with it. But...
Don't use too much pressure. You'll just end up scraping off what you just put on.
Were my instructions clear as mud? Then watch this short video. Maybe it will help.
Happy with it? Great.
Way to go! The worst is over.
Step Seven: The Top
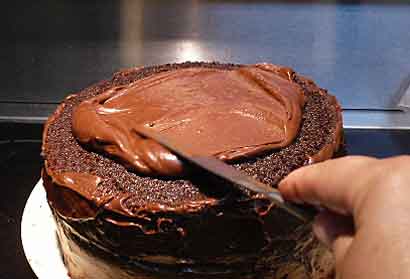
Take the remaining icing (about 1/3) and place it on top of the cake.
Goal: Finish icing the cake. Carefully spread the frosting to the very edge.
If some frosting hangs over the side, run the edge of your spatula around the side the cake.
Then carefully spread the icing away from the edge toward the center of the top layer.
Smooth out any rough spots.
You did it! That wasn't so bad was it?
Step Eight? You have your cake and you can eat it too! Or admire it for awhile. Sure, it can be difficult to cut into your masterpiece. But it's less messy than grabbing a chunk!
Caketastrophe!
Time to come clean! I suffered one while filming the above video.
Yep, I was so focused on being in focus that I put the second layer of cake on upside down.
The result? The top layer cracked in several places! Embarrassing, it was.
So I made this video to show you how to repair a tear without tears!
Hope you never need it but here it is just in case...
Now you know how to ice a cake and maybe repair it. Doesn't it feel great? You can create two layers of luscious dessert with eye appeal. Soon you'll be ready to tackle the decorating bag!
Ready for a cake recipe to ice?
New! Comments
Feeling the need to send some feedback? Leave me a comment in the box below.